• Sngine Community Message
    Sngine Community is currently operating in its beta phase, which means that we are actively working on configuring and optimizing various aspects of this community. As we continue to refine our features and functionality, please be aware that changes may occur unexpectedly or without prior notification. We appreciate your understanding and patience during this development period, as we strive to create the best possible experience for all members.

Setting up Cloudflare R2

Cloudflare R2​

After installing Sngine, now you can, in easy steps integrate Cloudflare R2 with it to let your users use it

  1. First, go to: https://dash.cloudflare.com/ and sign in with your Cloudflare account
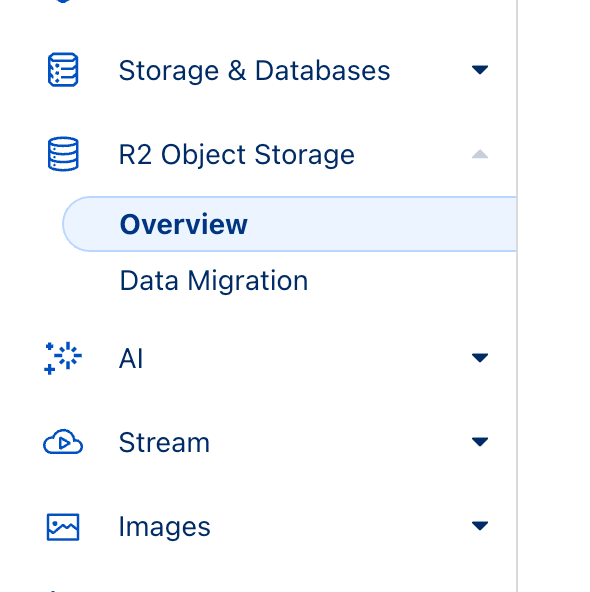
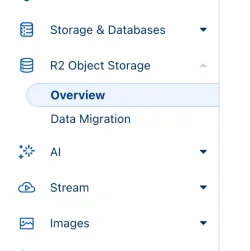
  2. No,w click on R2 Object Storage

    image
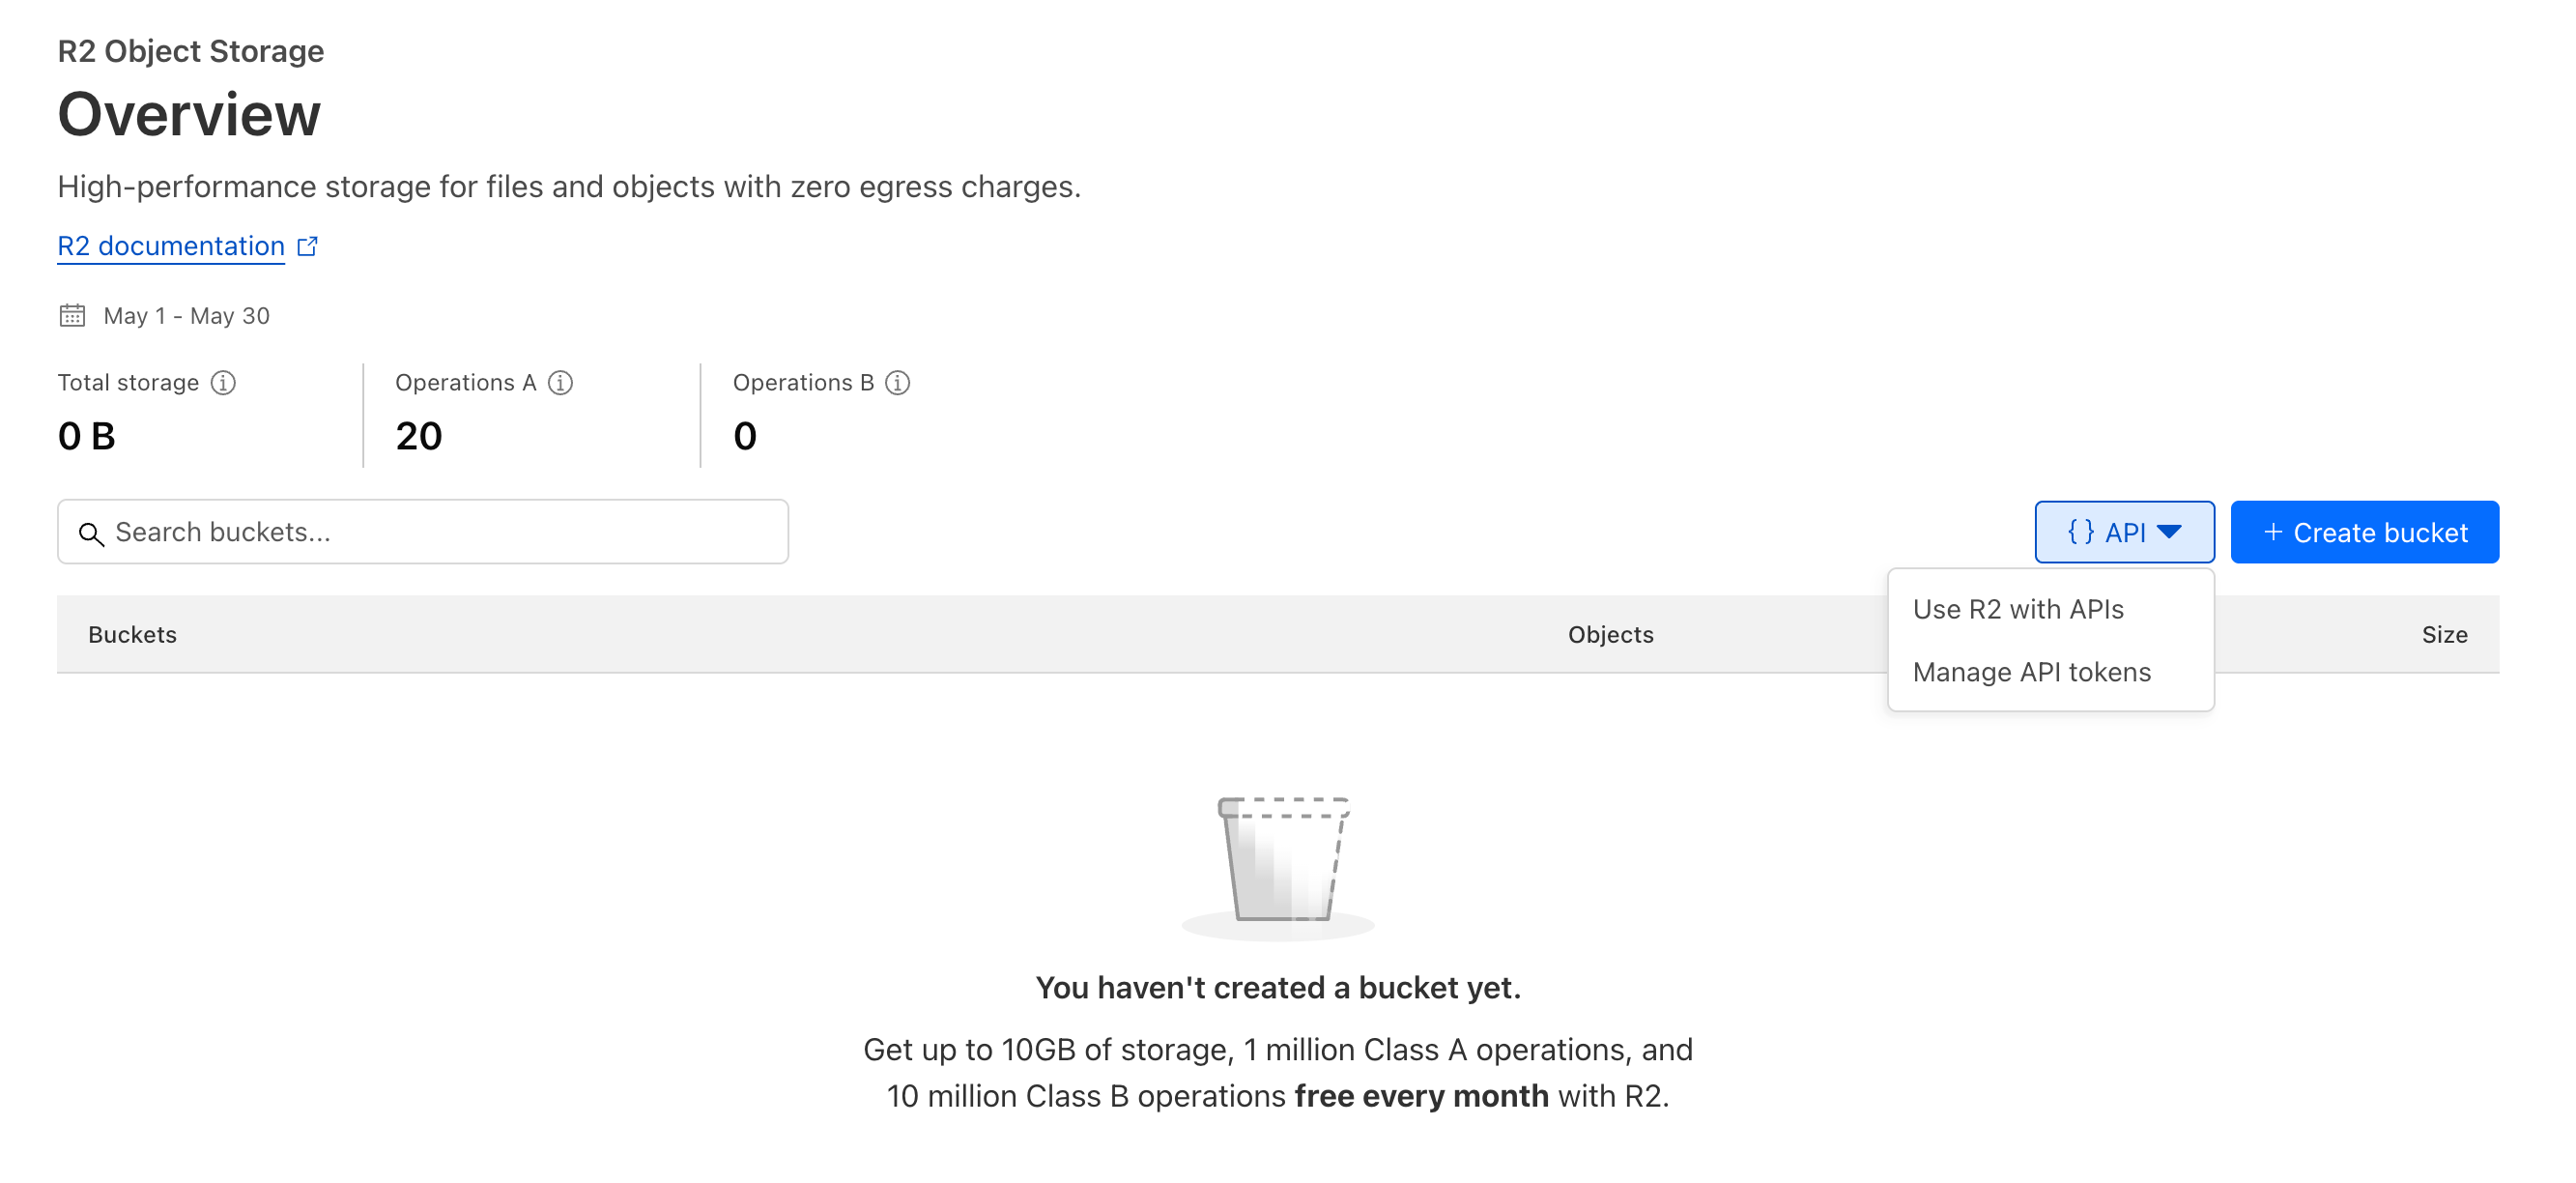
  3. Now click on API, then click on Manage API Token
    image
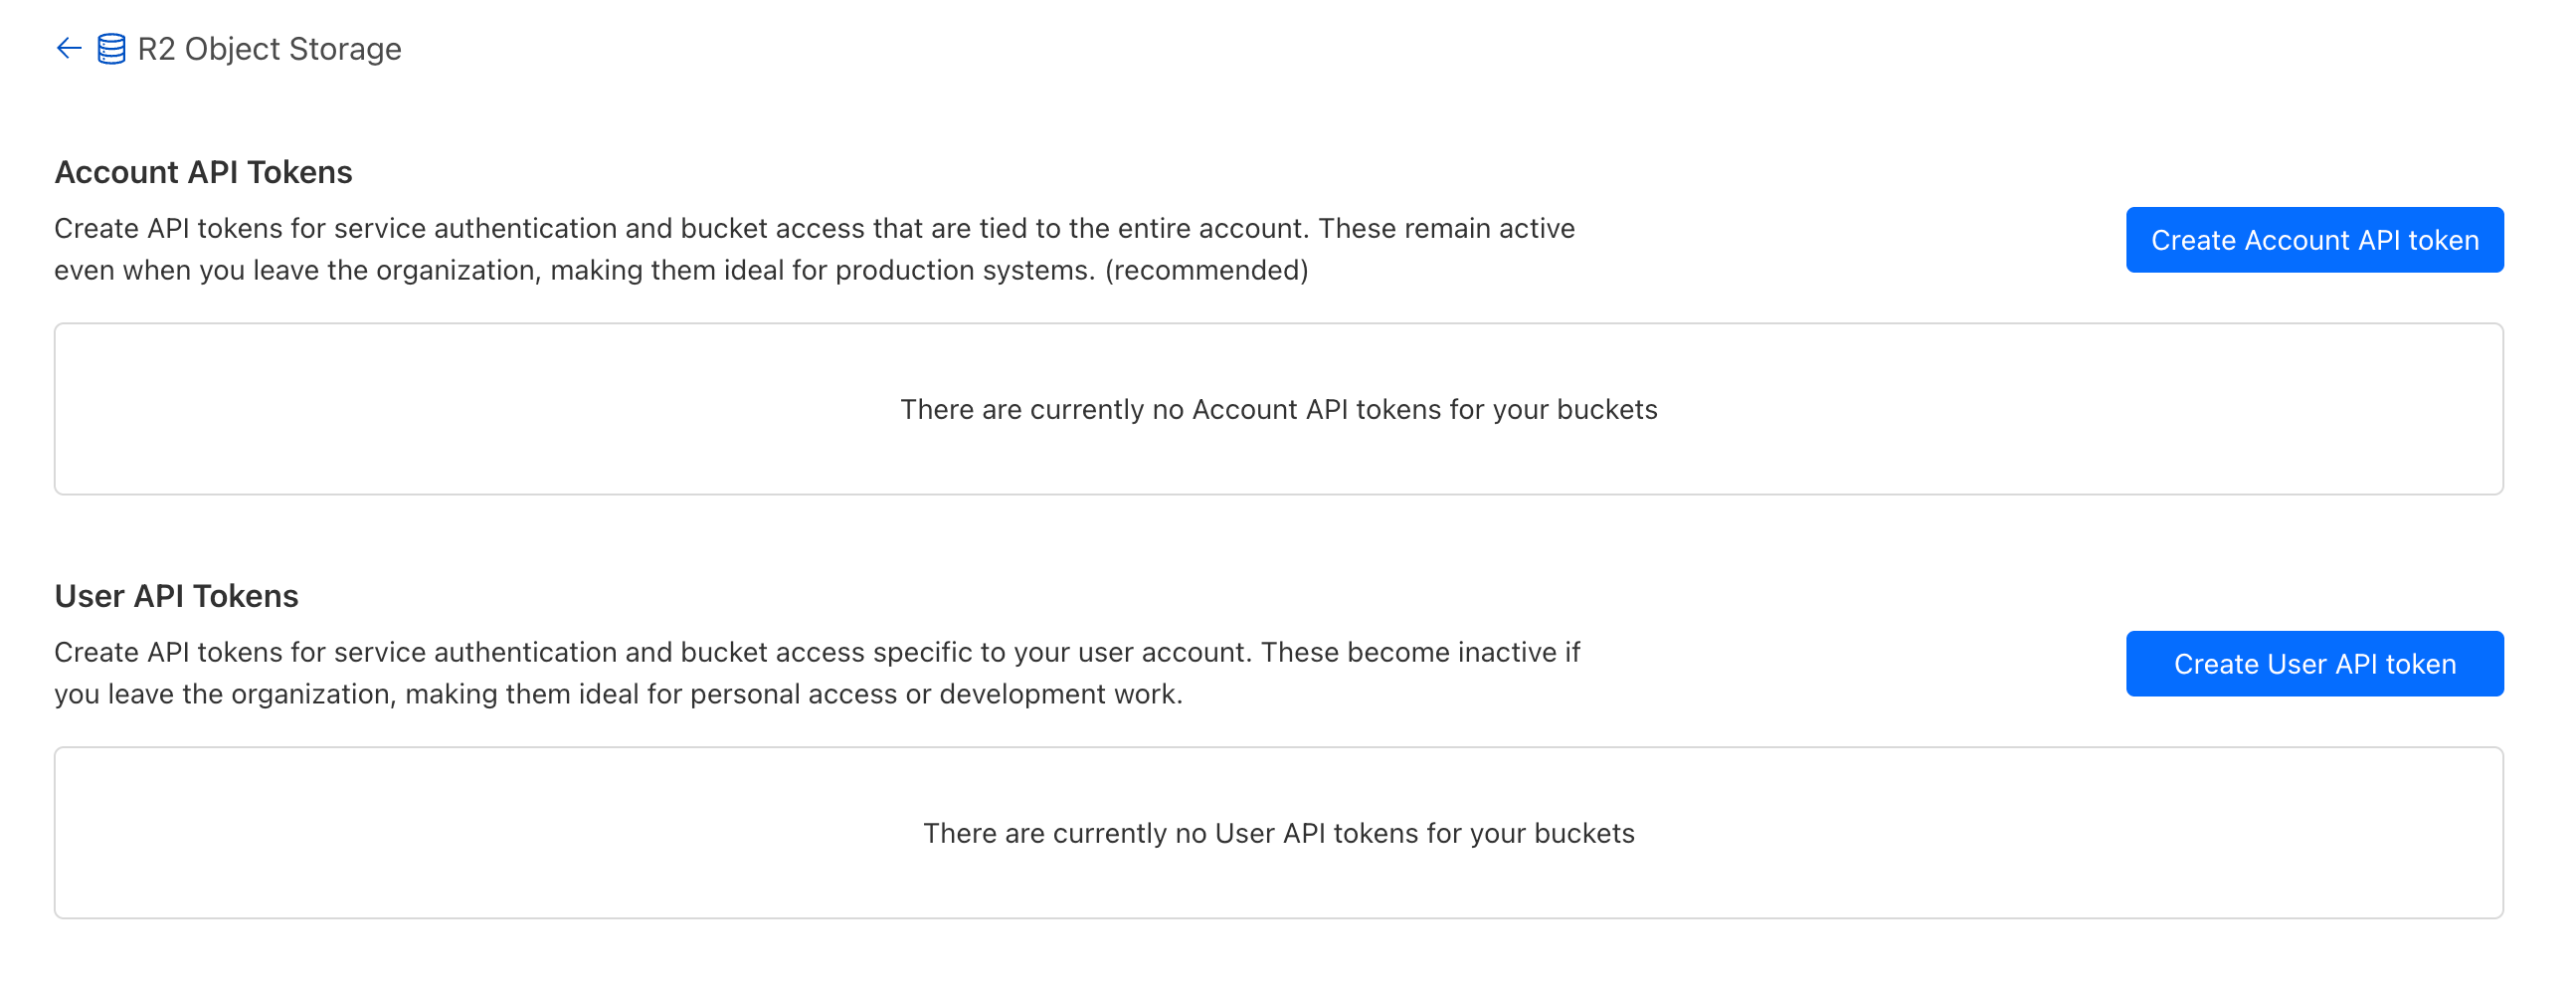
  4. Now, click on Create Account API Token
    image
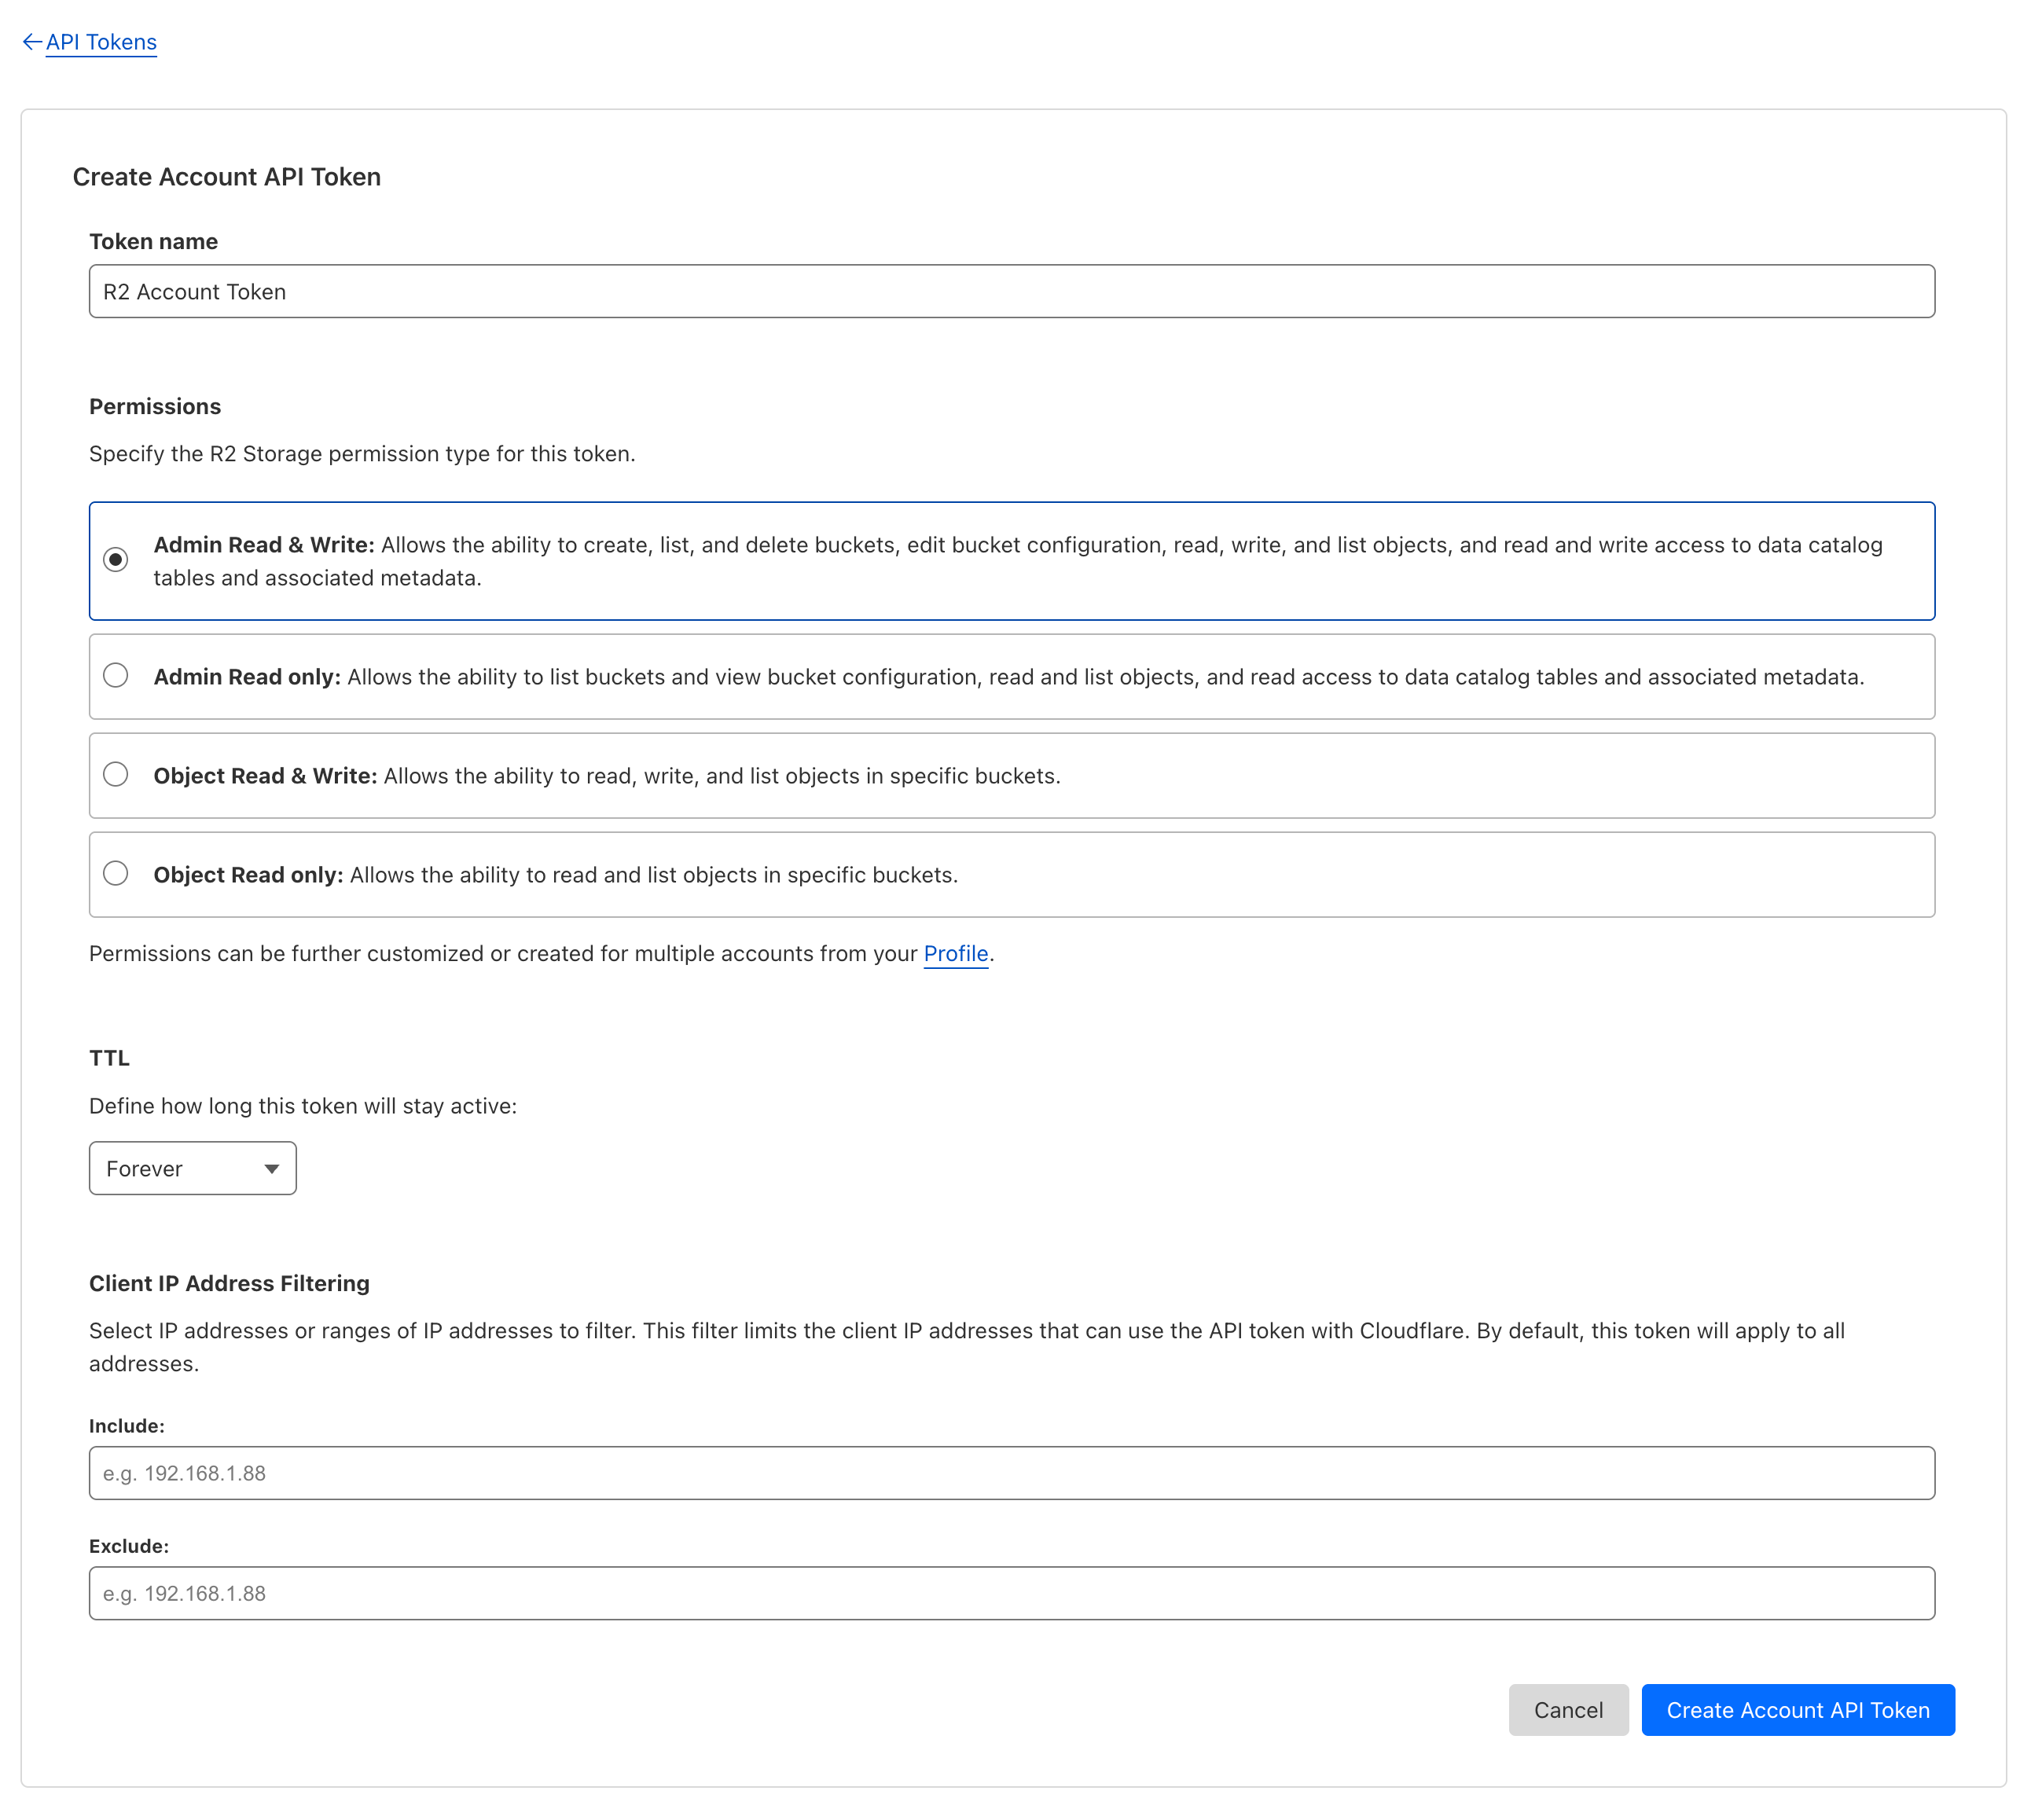
  5. Create the token with the following permissions:
    image
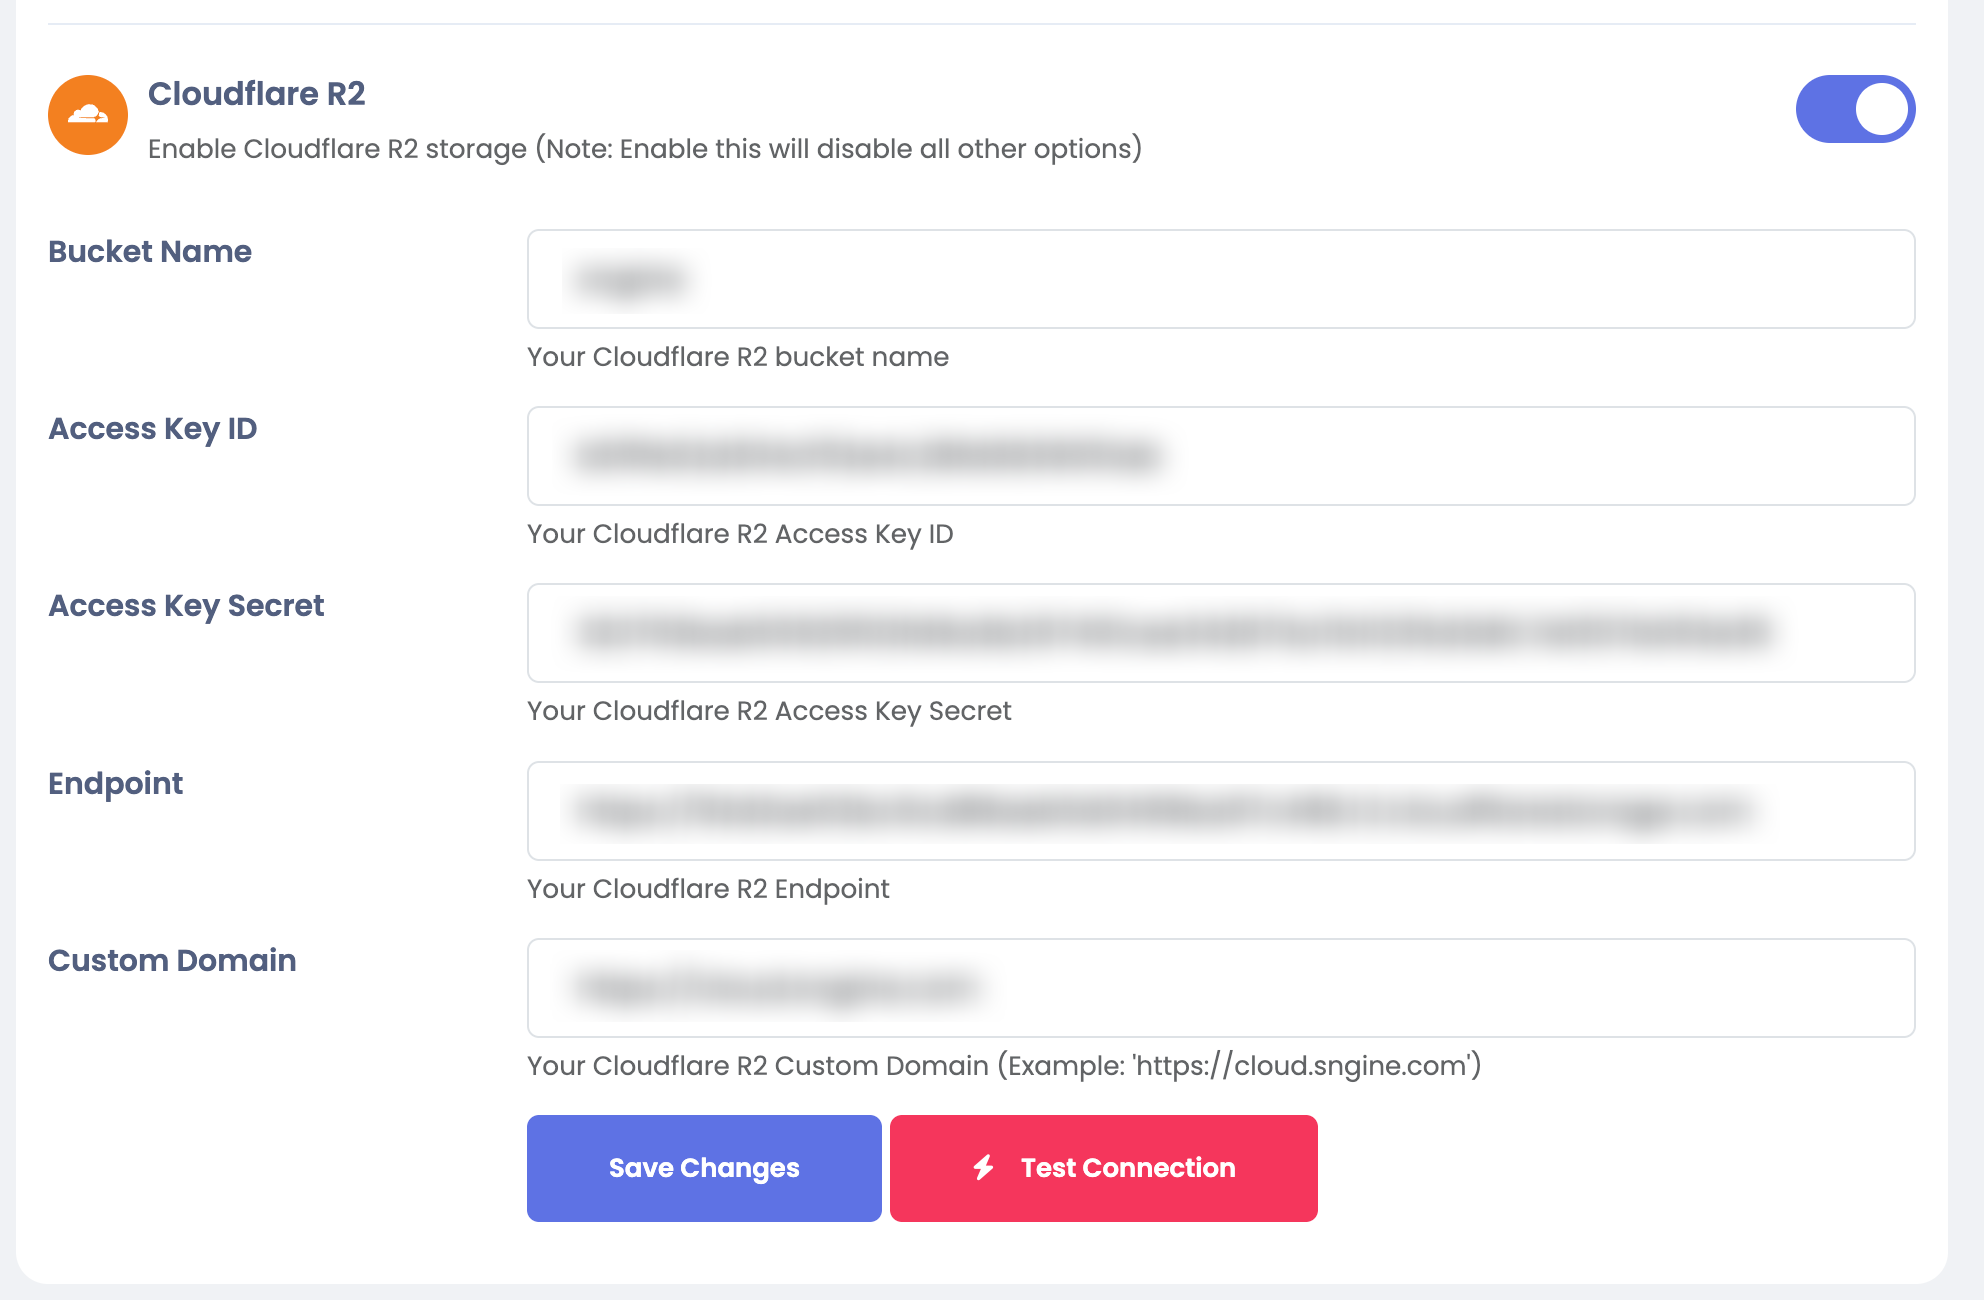
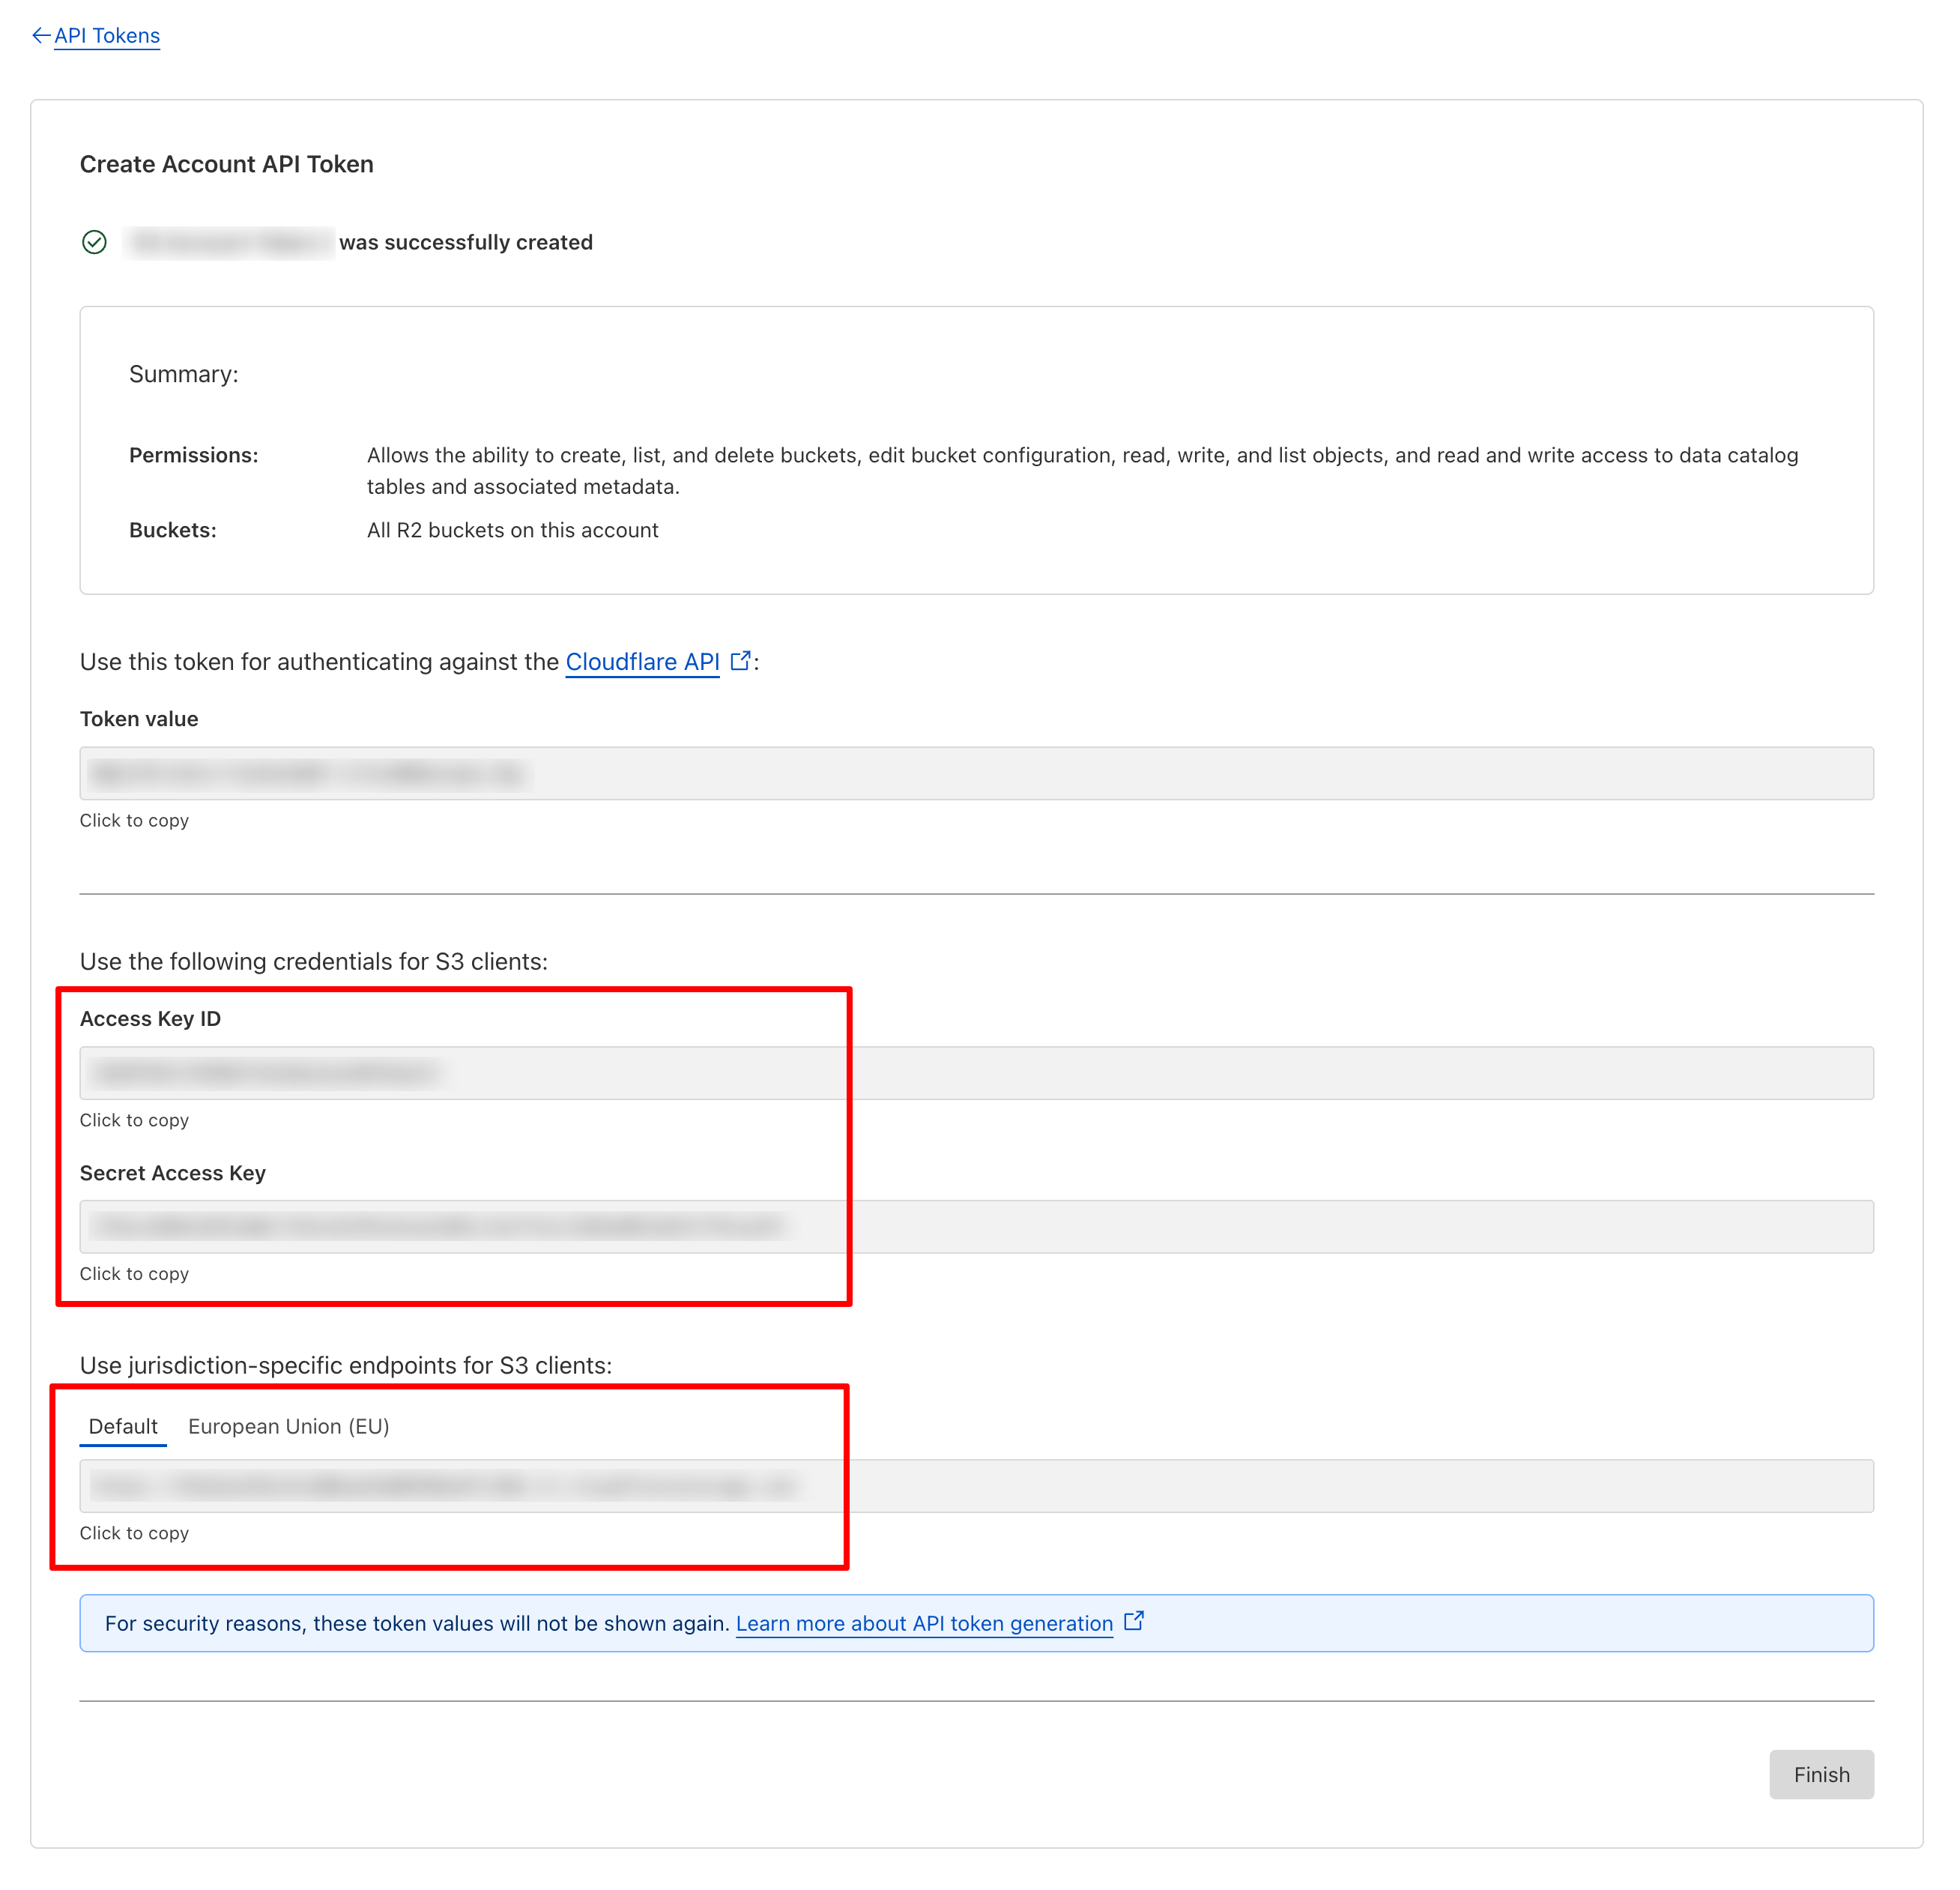
  6. You will get the Access Key ID, Secret Access Key and S3 client endpoint, which youcan copy and paste later in the Sngine Admin panel -> Settings -> Upload Settings
    image
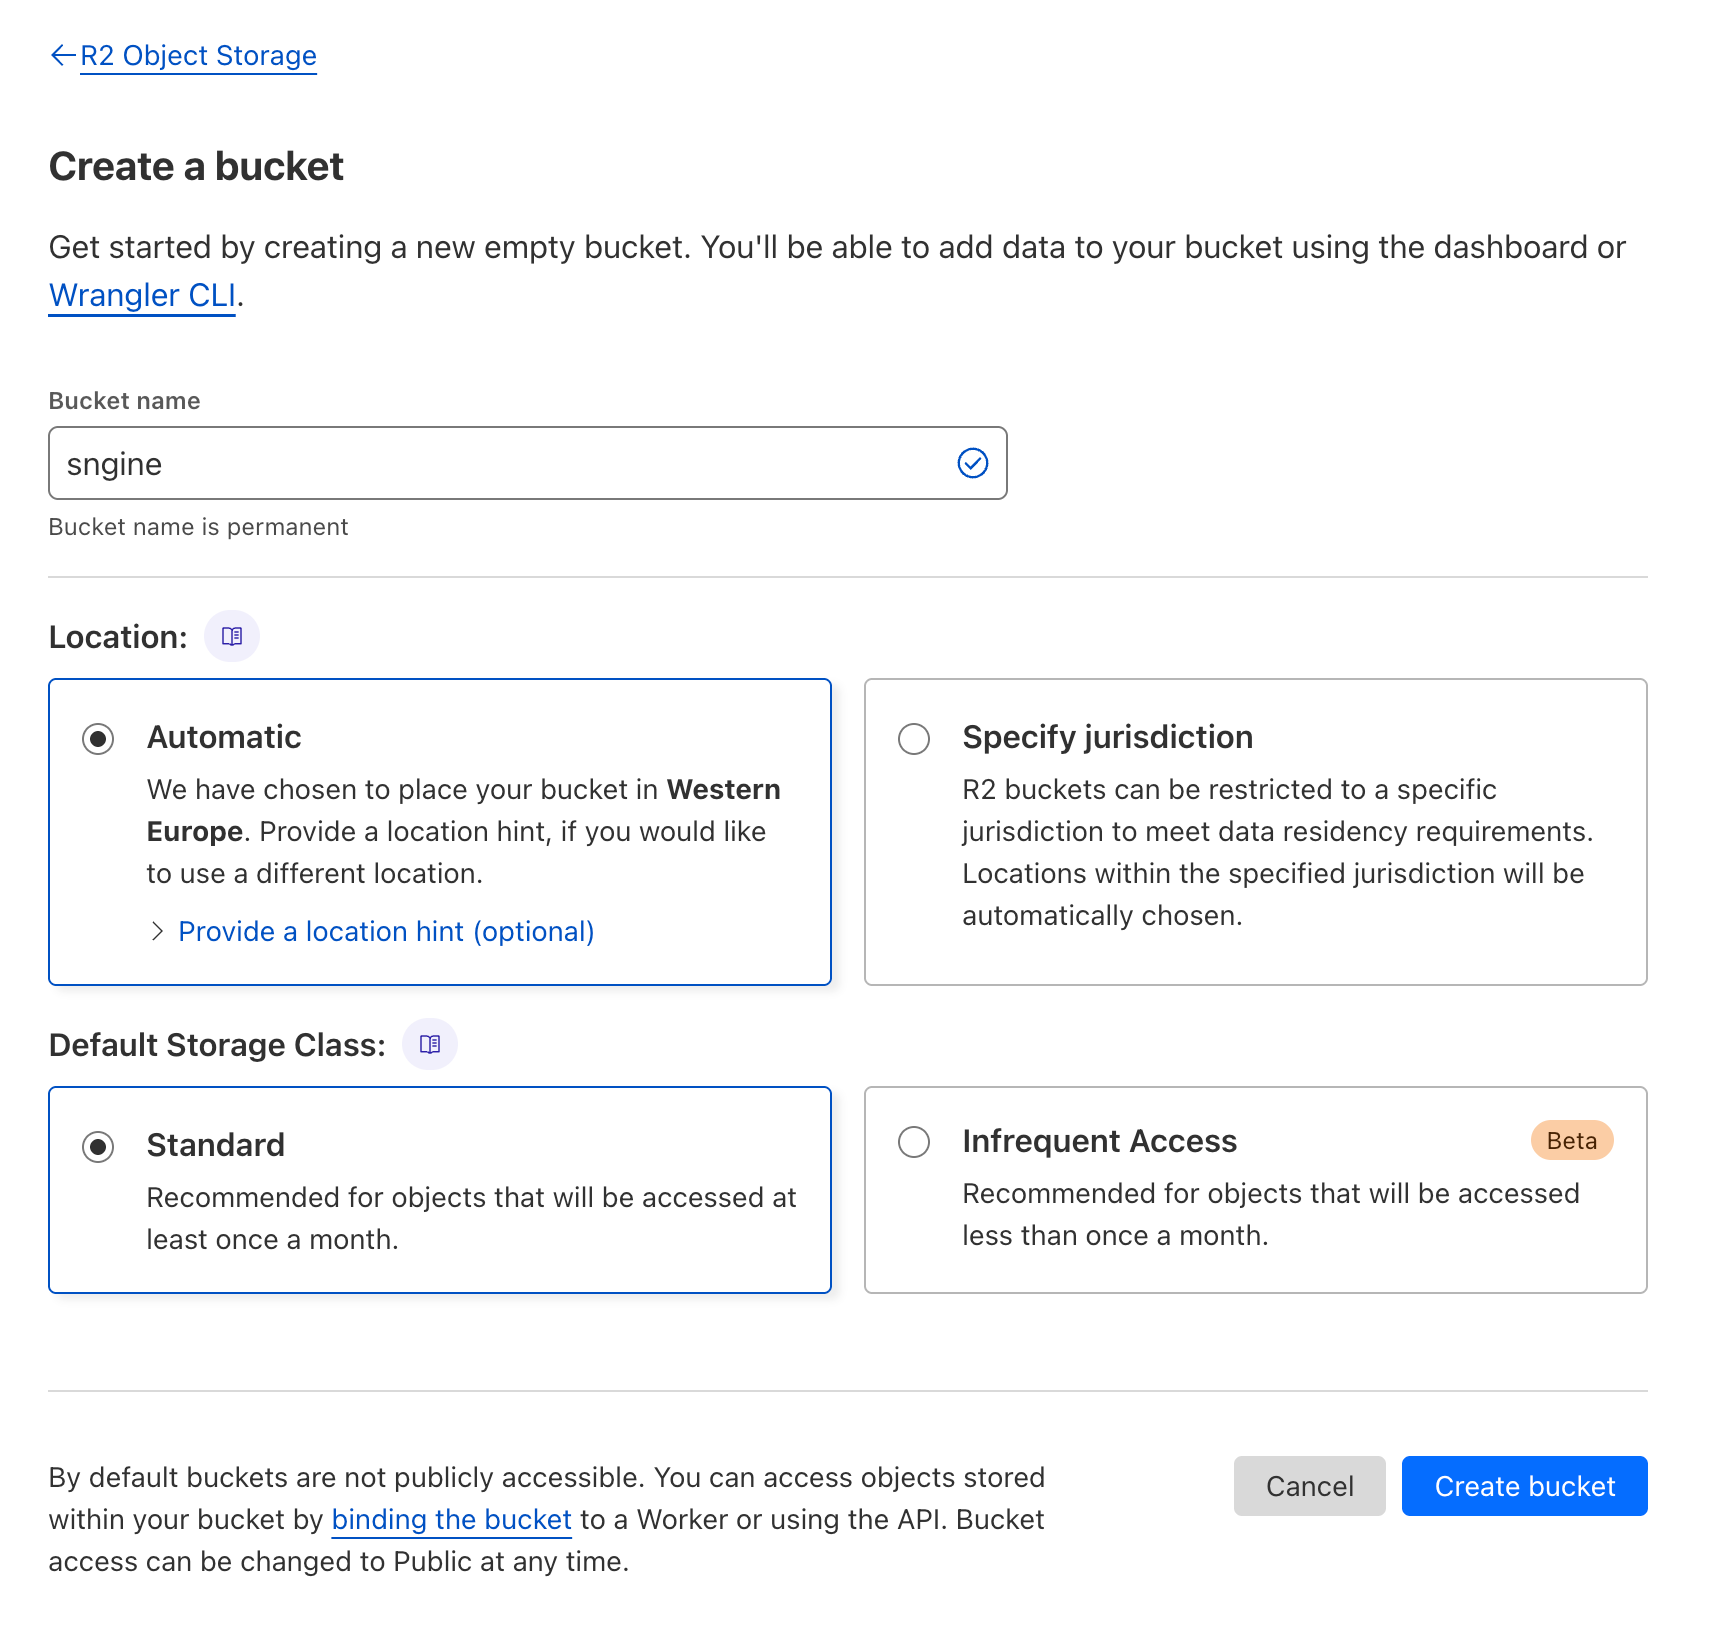
  7. Now you will need to create a bucket, so click on Create bucket
    image
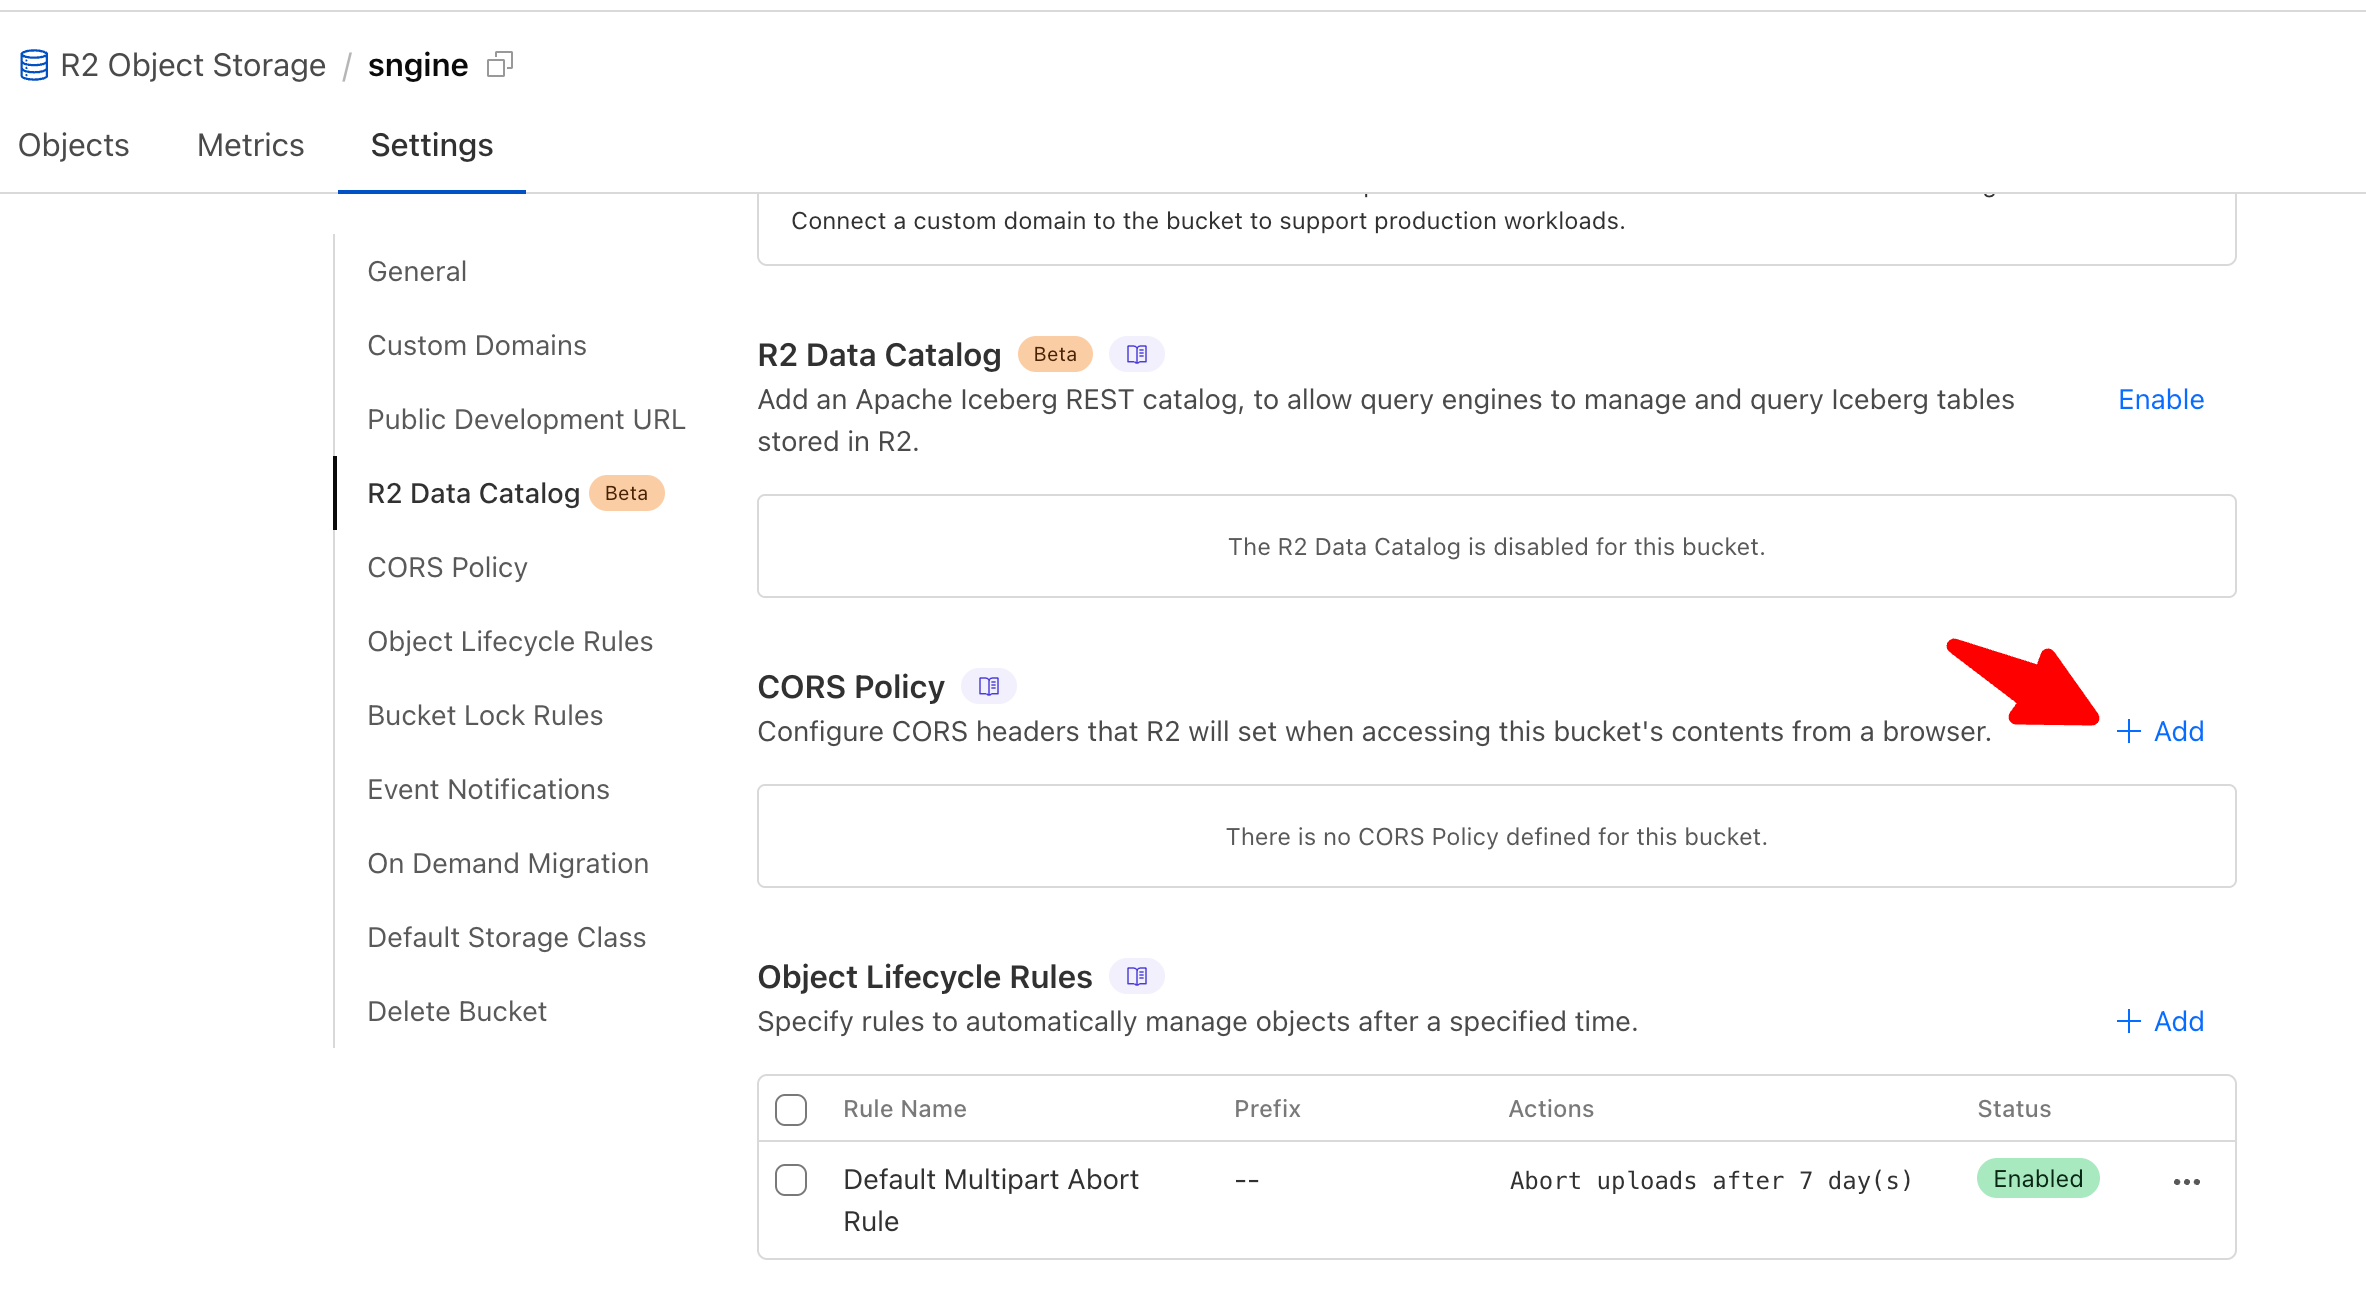
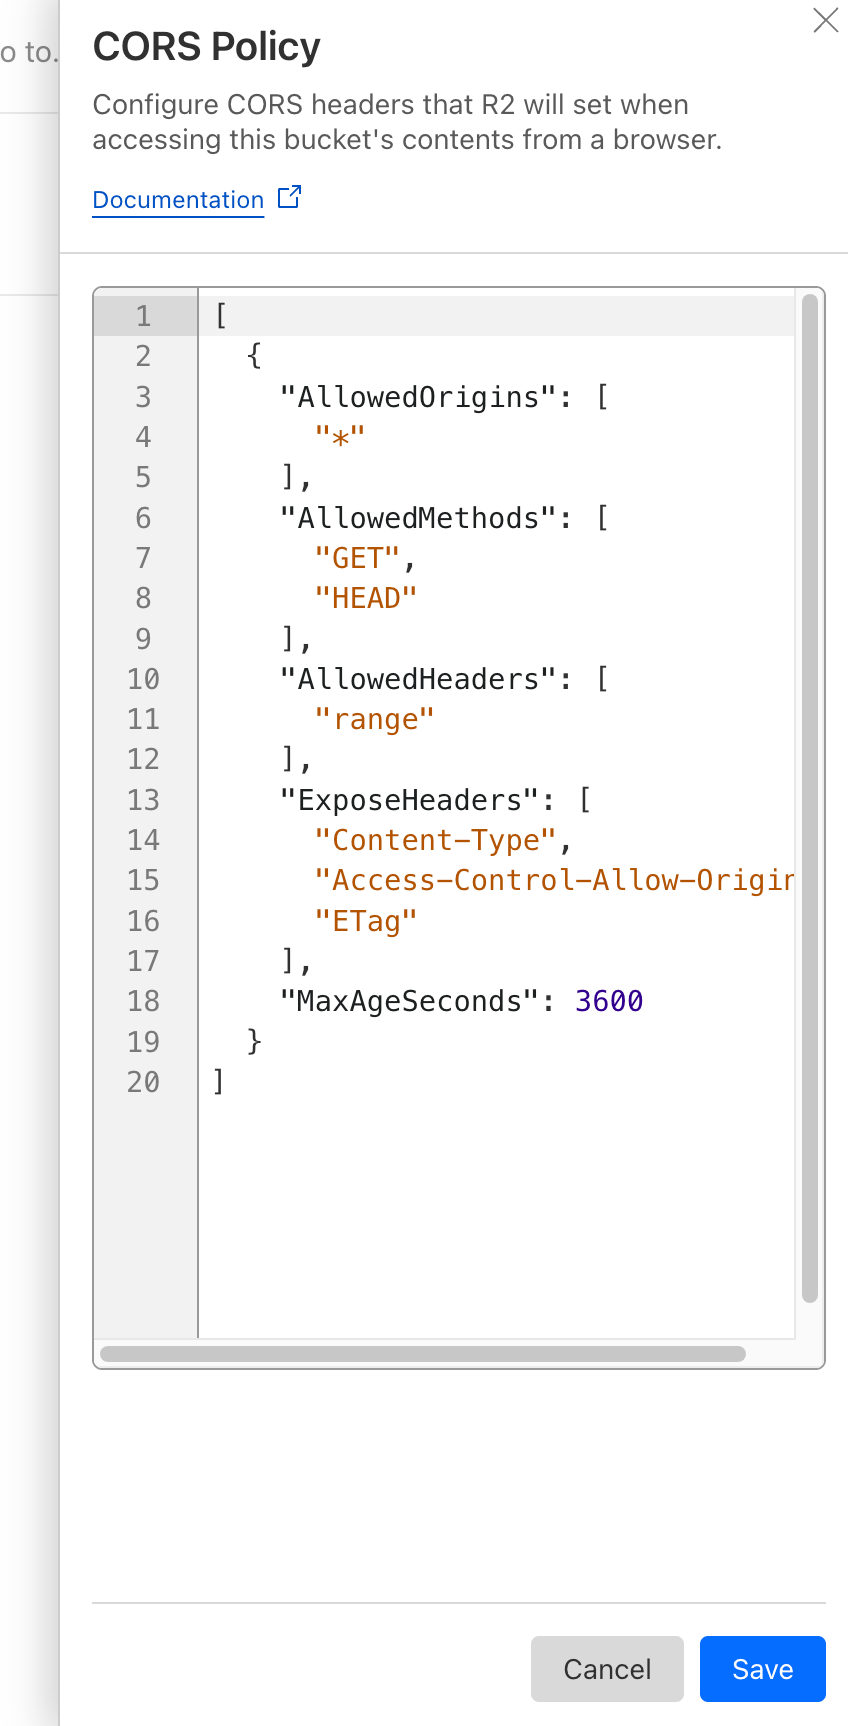
  8. Now you will need to configure the bucket CORS policy, so click on Settings, then fromthe CORS Policy section, click on Add
    image
  9. Add the following CORS policy:
Code:
[
  {
    "AllowedOrigins": ["*"],
    "AllowedMethods": ["GET", "HEAD"],
    "AllowedHeaders": ["range"],
    "ExposeHeaders": [
      "Content-Type",
      "Access-Control-Allow-Origin",
      "ETag"
    ],
    "MaxAgeSeconds": 3600
  }
]

image
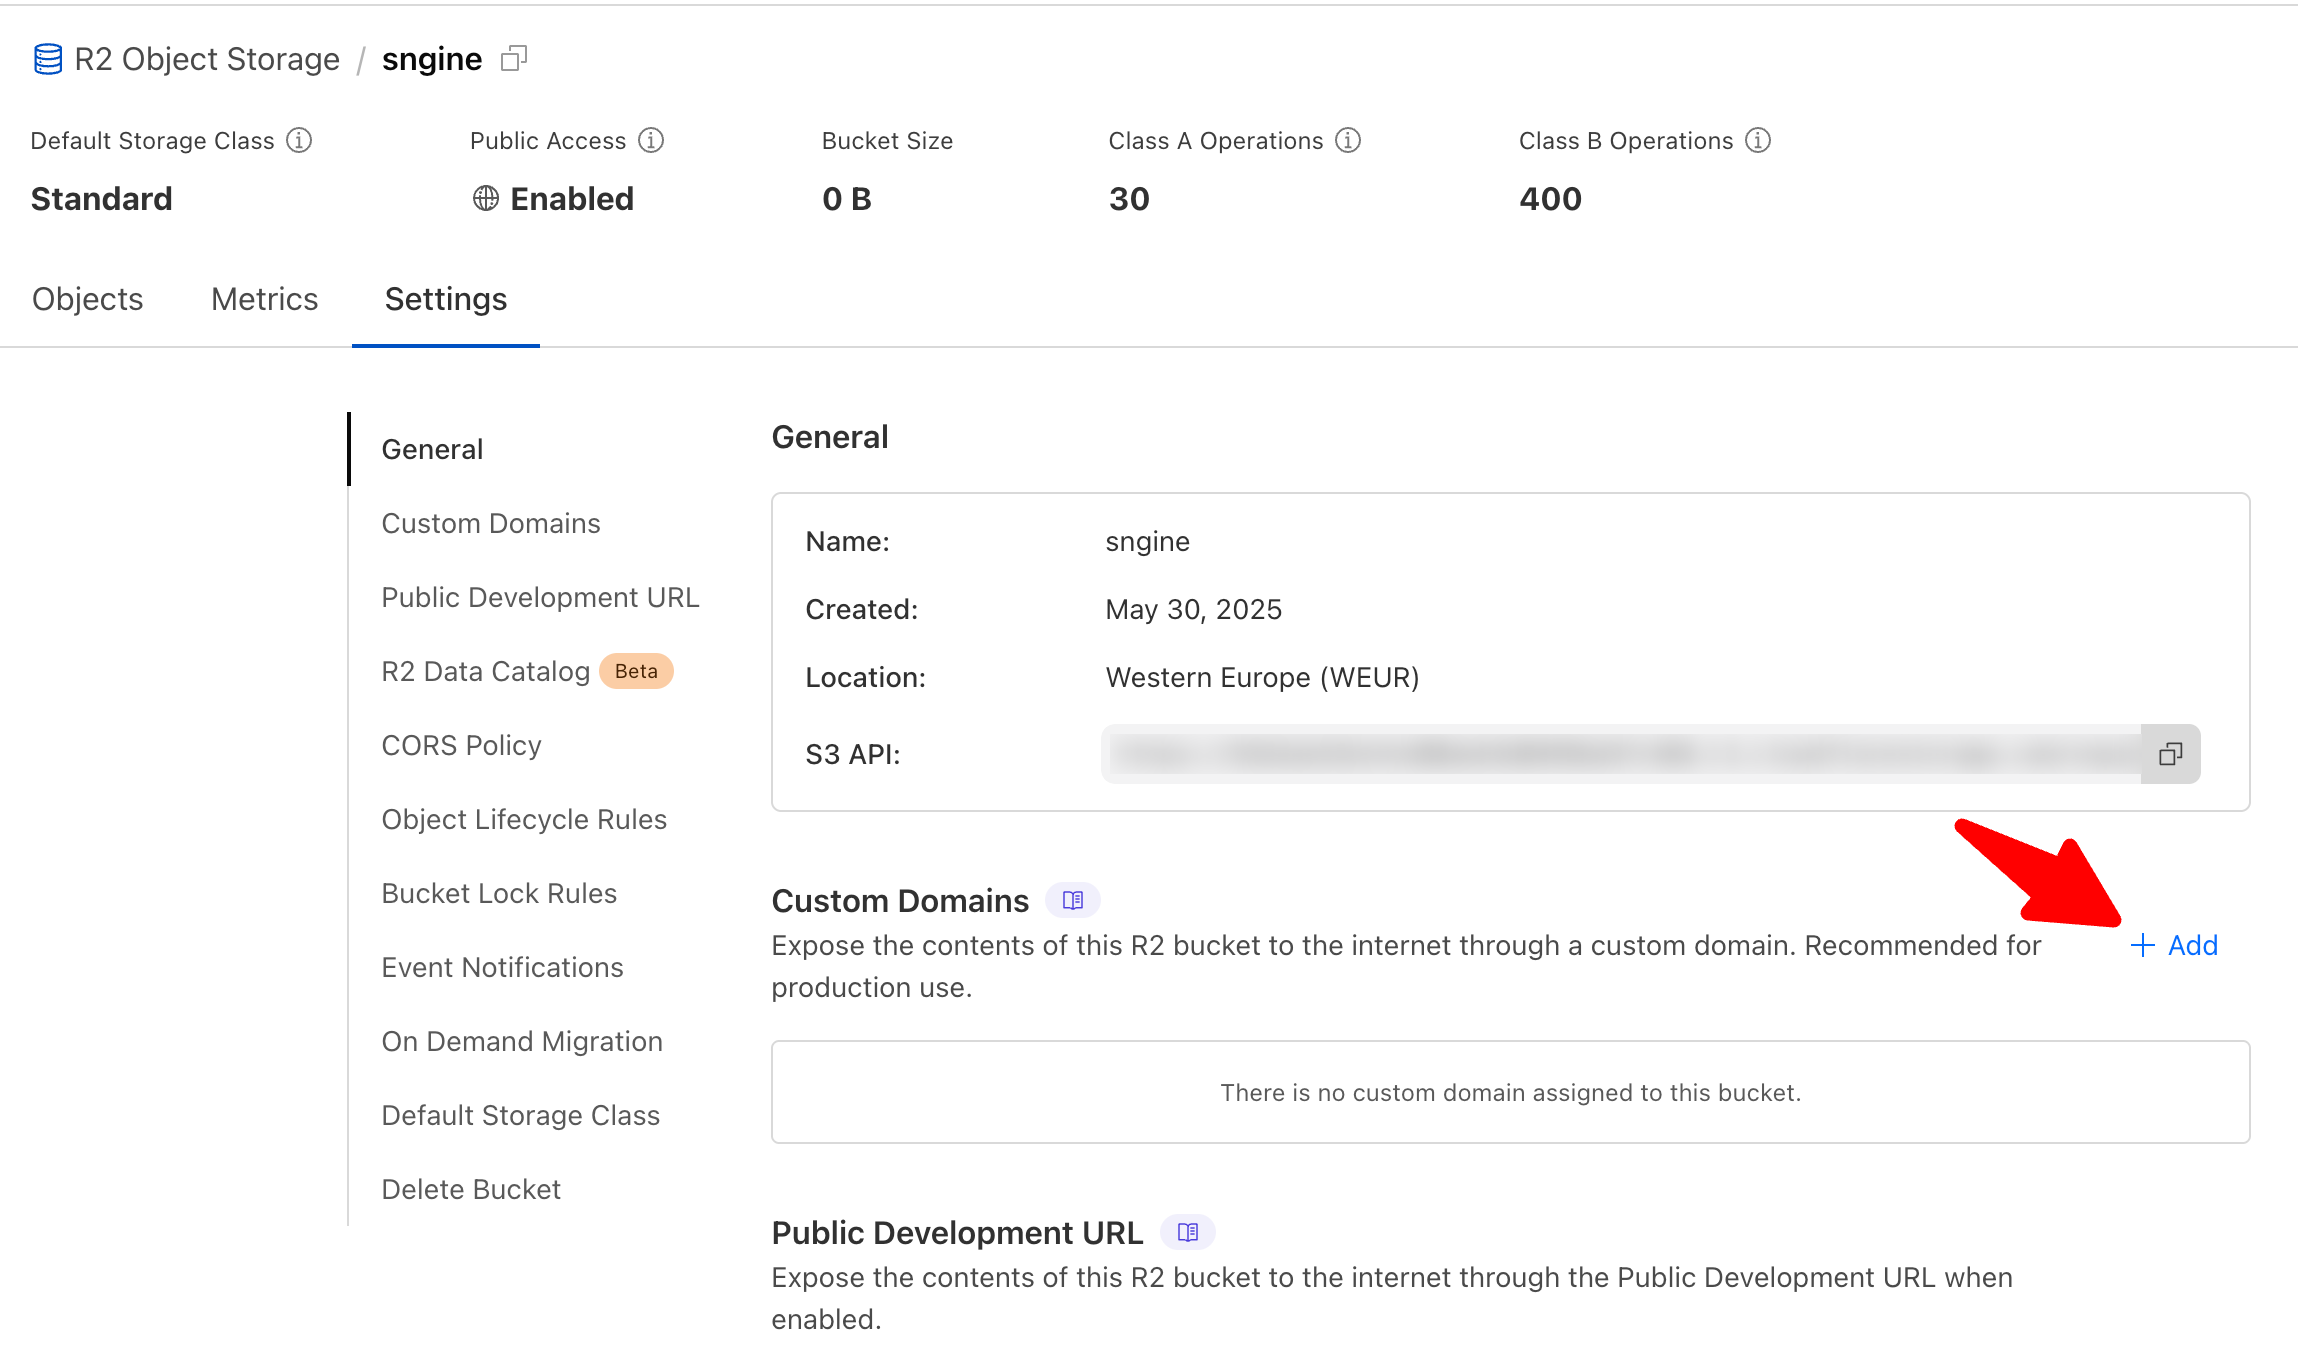
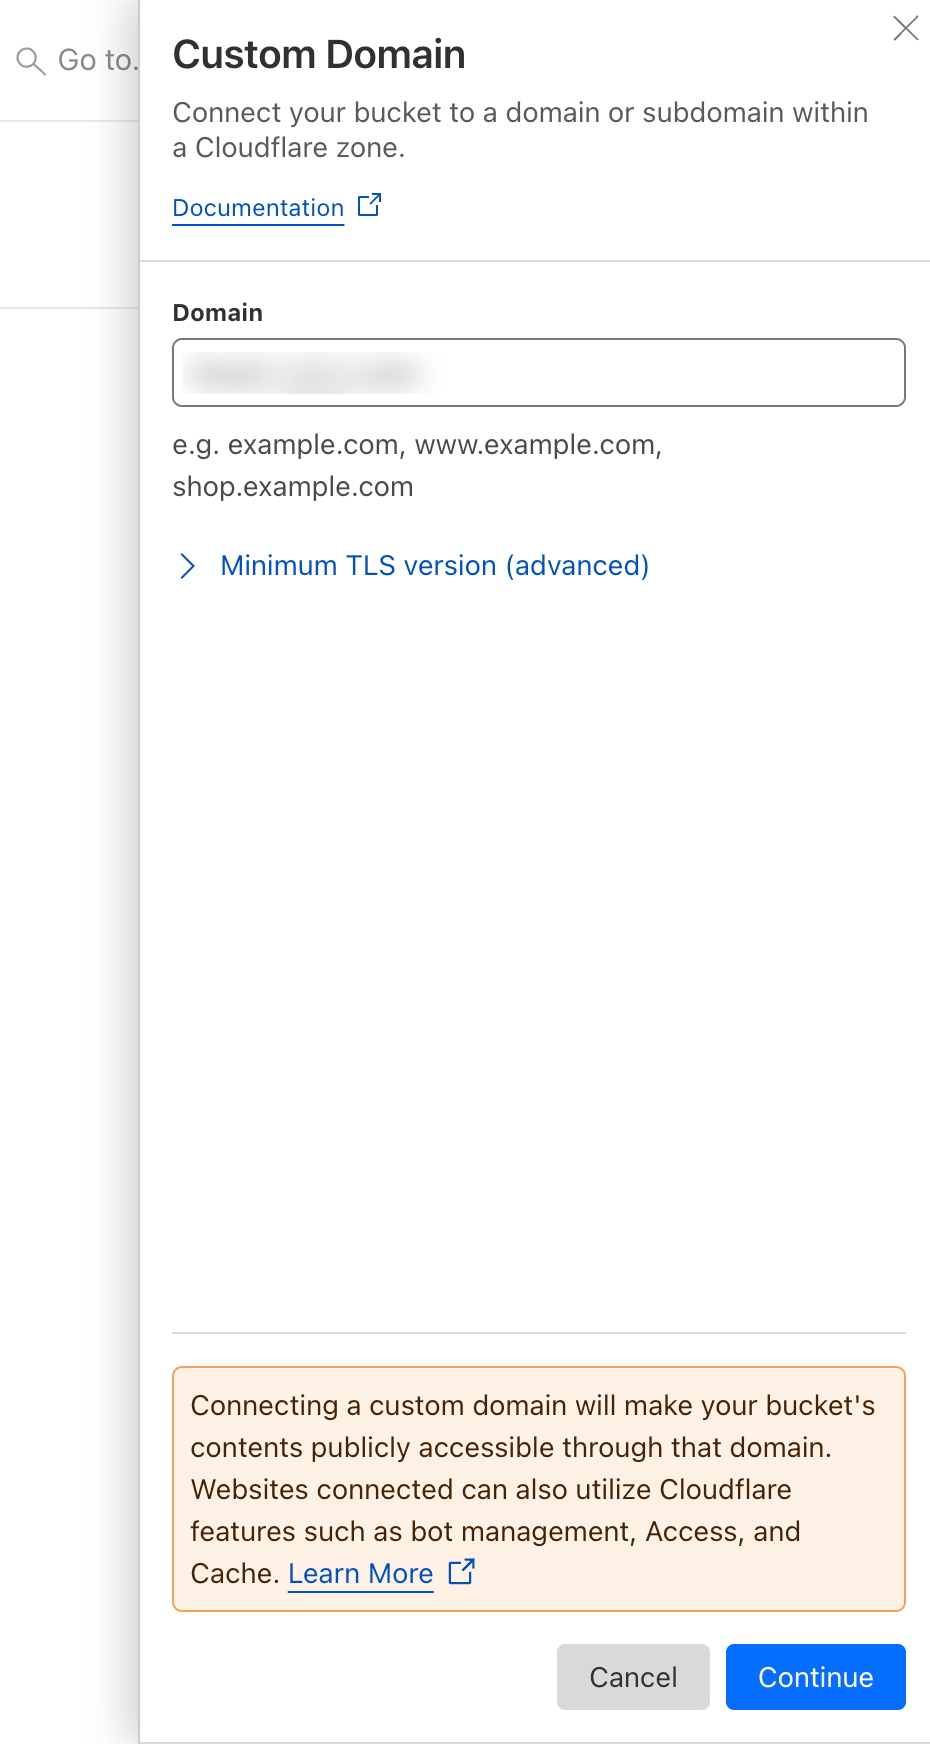
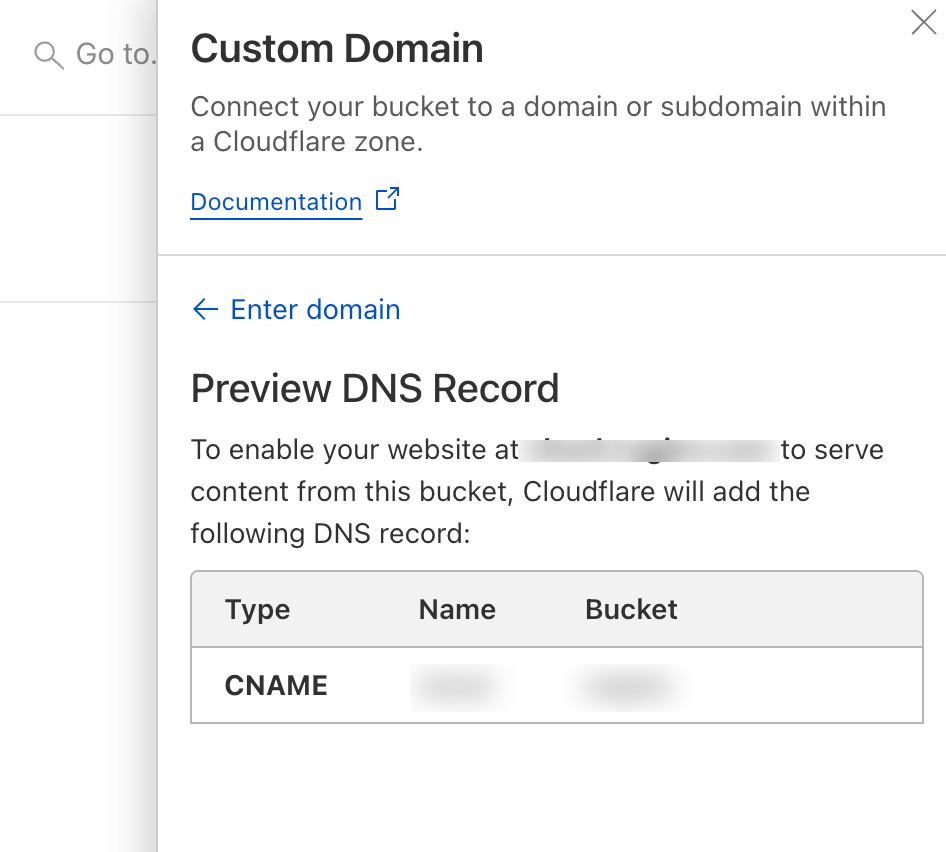
  1. Now you will need to use Custom Domain, so from the Custom Domains section,n click on Add

    image

    image

    image
  2. Finally, you need to copy and paste the data inthe Sngine Admin panel -> Settings -> Upload Settings

    image
 

Attachments

  • R2-01.webp
    R2-01.webp
    15.8 KB · Views: 0

Donate: Campaign

Total amount
$0.00
Goal
$60.00

AdSense

Back
Top